Creating a Facebook chatbot has never been easier than it is now. In fact, you can build a chatbot yourself and integrate it into your Facebook page within minutes.
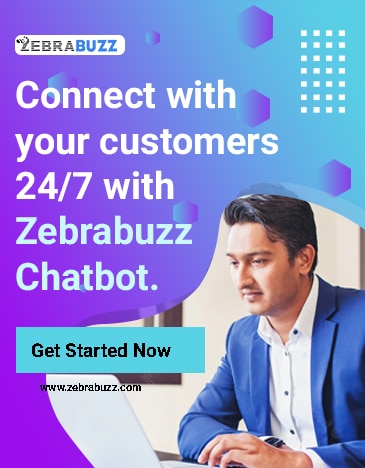
You need a Facebook Messenger chatbot builder tool like Zebrabuzz to create a chatbot for your Facebook page in no time.
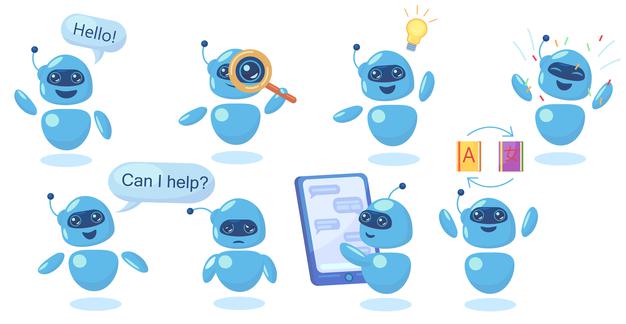
As chatbots are growing in popularity due to the enormous benefits they offer, every business owner and marketer must automate their processes with them.
You can create a chatbot for many messaging apps and social media channels. With Facebook having billions of active users, creating a Messenger chatbot should be a priority.
Here, we will look at ways to use the unique Zebrabuzz tool to create a Messenger chatbot with your Facebook page.
How to Use Zebrabuzz Tool to Create Chatbot with Facebook Page
Although many people think creating a chatbot is technical, non-coding platforms have made it easy.
Now, you don’t have to be knowledgeable about programming to build a chatbot for your business and integrate it into your Facebook page.
With your Facebook page, the rest of the creation process follows this process:
- Select Chatbot Building Tool
Choose a reliable chatbot-building tool. Zebrabuzz allows you to create an AI chatbot that can do more than just interact with your customers.
Besides creating a Facebook Messenger chatbot, this tool also has features like FB auto liker that can help you boost the likes on your Facebook page by automatically liking posts, comments, replies and other pages.
Like the Facebook Messenger chatbot, the FB auto liker is also a predefined tool and spam-free.
- Import your Facebook Page
Once you have created an account on the chatbot-building platform, the next step is to link your Facebook page. Since you will be using your chatbot on Facebook, you need a functional page to be able to create a chatbot.
Click ‘Import’ on the left side of the Zebrabuzz dashboard to link your Facebook page. Allow permission, and your Facebook page will be successfully imported.
This tool allows you to add multiple Facebook pages to one account so that you can create more than one chatbot for one account.
- Connect Your Bot
You have not created your bot yet, but you can enable a bot connection. By clicking on the ‘plug icon beside each of the pages you have imported, you will be able to connect the bot.
This is done so that whatever changes you make to the chatbot will automatically take effect on your Facebook page.
- Create your Bot Replies
It is time to create your chatbot’s conversation. This is where you design how you want your chatbot to respond to certain commands.
You can build your Facebook chatbot to respond in various ways. There are many options available, from quick reply, image, video, audio, text with buttons, and many others.
If you own an e-commerce store, you can use the media or image and video reply types to create bot replies that enable your bot to send product images.
- Set Reply Triggers
When you are done designing your chatbot’s responses, now you need to choose the keywords. The keywords are what triggers each reply.
For example, whenever the user sends keywords like “get started”,, the reply associated with that keyword will be sent.
Your chatbot will immediately respond with the appropriate reply whenever it identifies any keyword.
Click Save, and that is it; you have created your Messenger chatbot. You can test your chatbot out by asking a friend to send a message to your Facebook page.
You can use the Zebrabuzz tool to create a chatbot that will interact with customers via Facebook Messenger and answer their questions.
With up to 7 different payment gateways, you can use your chatbot to sell your products directly on Messenger.